WordThree brings the functionality of Web3 to WordPress. Easily integrate MetaMask, allowing users to register, login and directly make payment using a MetaMask wallet.
Features
Free Version
WordThree integrates with your WordPress website to easily allow users to log in or register using their MetaMask wallet. Once activated, a MetaMask login button is automatically added to the default WordPress login page.
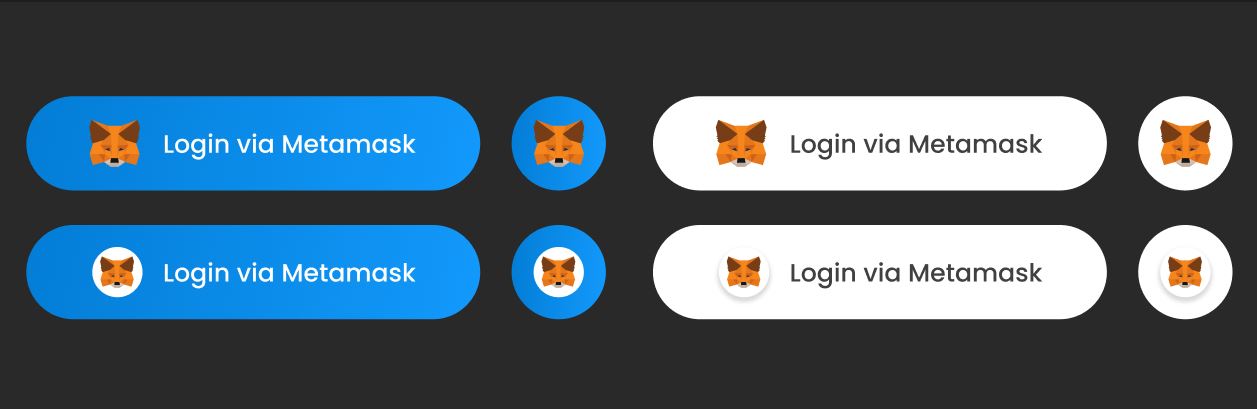
Alternatively, you can use one of the following shortcodes to place a MetaMask button on your website. The plugin includes several ways to present the MetaMask button: blue, white, large and compact.
Paid Version
Adds MetaMask as a checkout option to your WooCommerce store. Add your wallet address and accept payment via Ethereum, Polygon or Binance.
- Register & Create An Account
- Easy Login
- Fast Installation & Set Up
- WooCommerce Compatible
- MetaMask Payment Gateway
- Accept Ethereum, Polygon & Binance
Pre-Requirements
Once you have your Chrome browser open, head over to MetaMask’s website and click on the download link. After installing, it will prompt you to create an account: https://metamask.io/download.html
If you are using the pro version of WordThree, you will also need WooCommerce installed on your WordPress website.
PHP Version:7.0 or higher.
Installation
Install Plugin Via The WordPress Dashboard
- Upon purchasing, download the zip file from your account via WordThree.co.uk.
- Upload WordThree via your WordPress Dashboard: Plugins > Add New > Upload Plugin.
- Click install and then activate the plugin.
MetaMask Authenticator
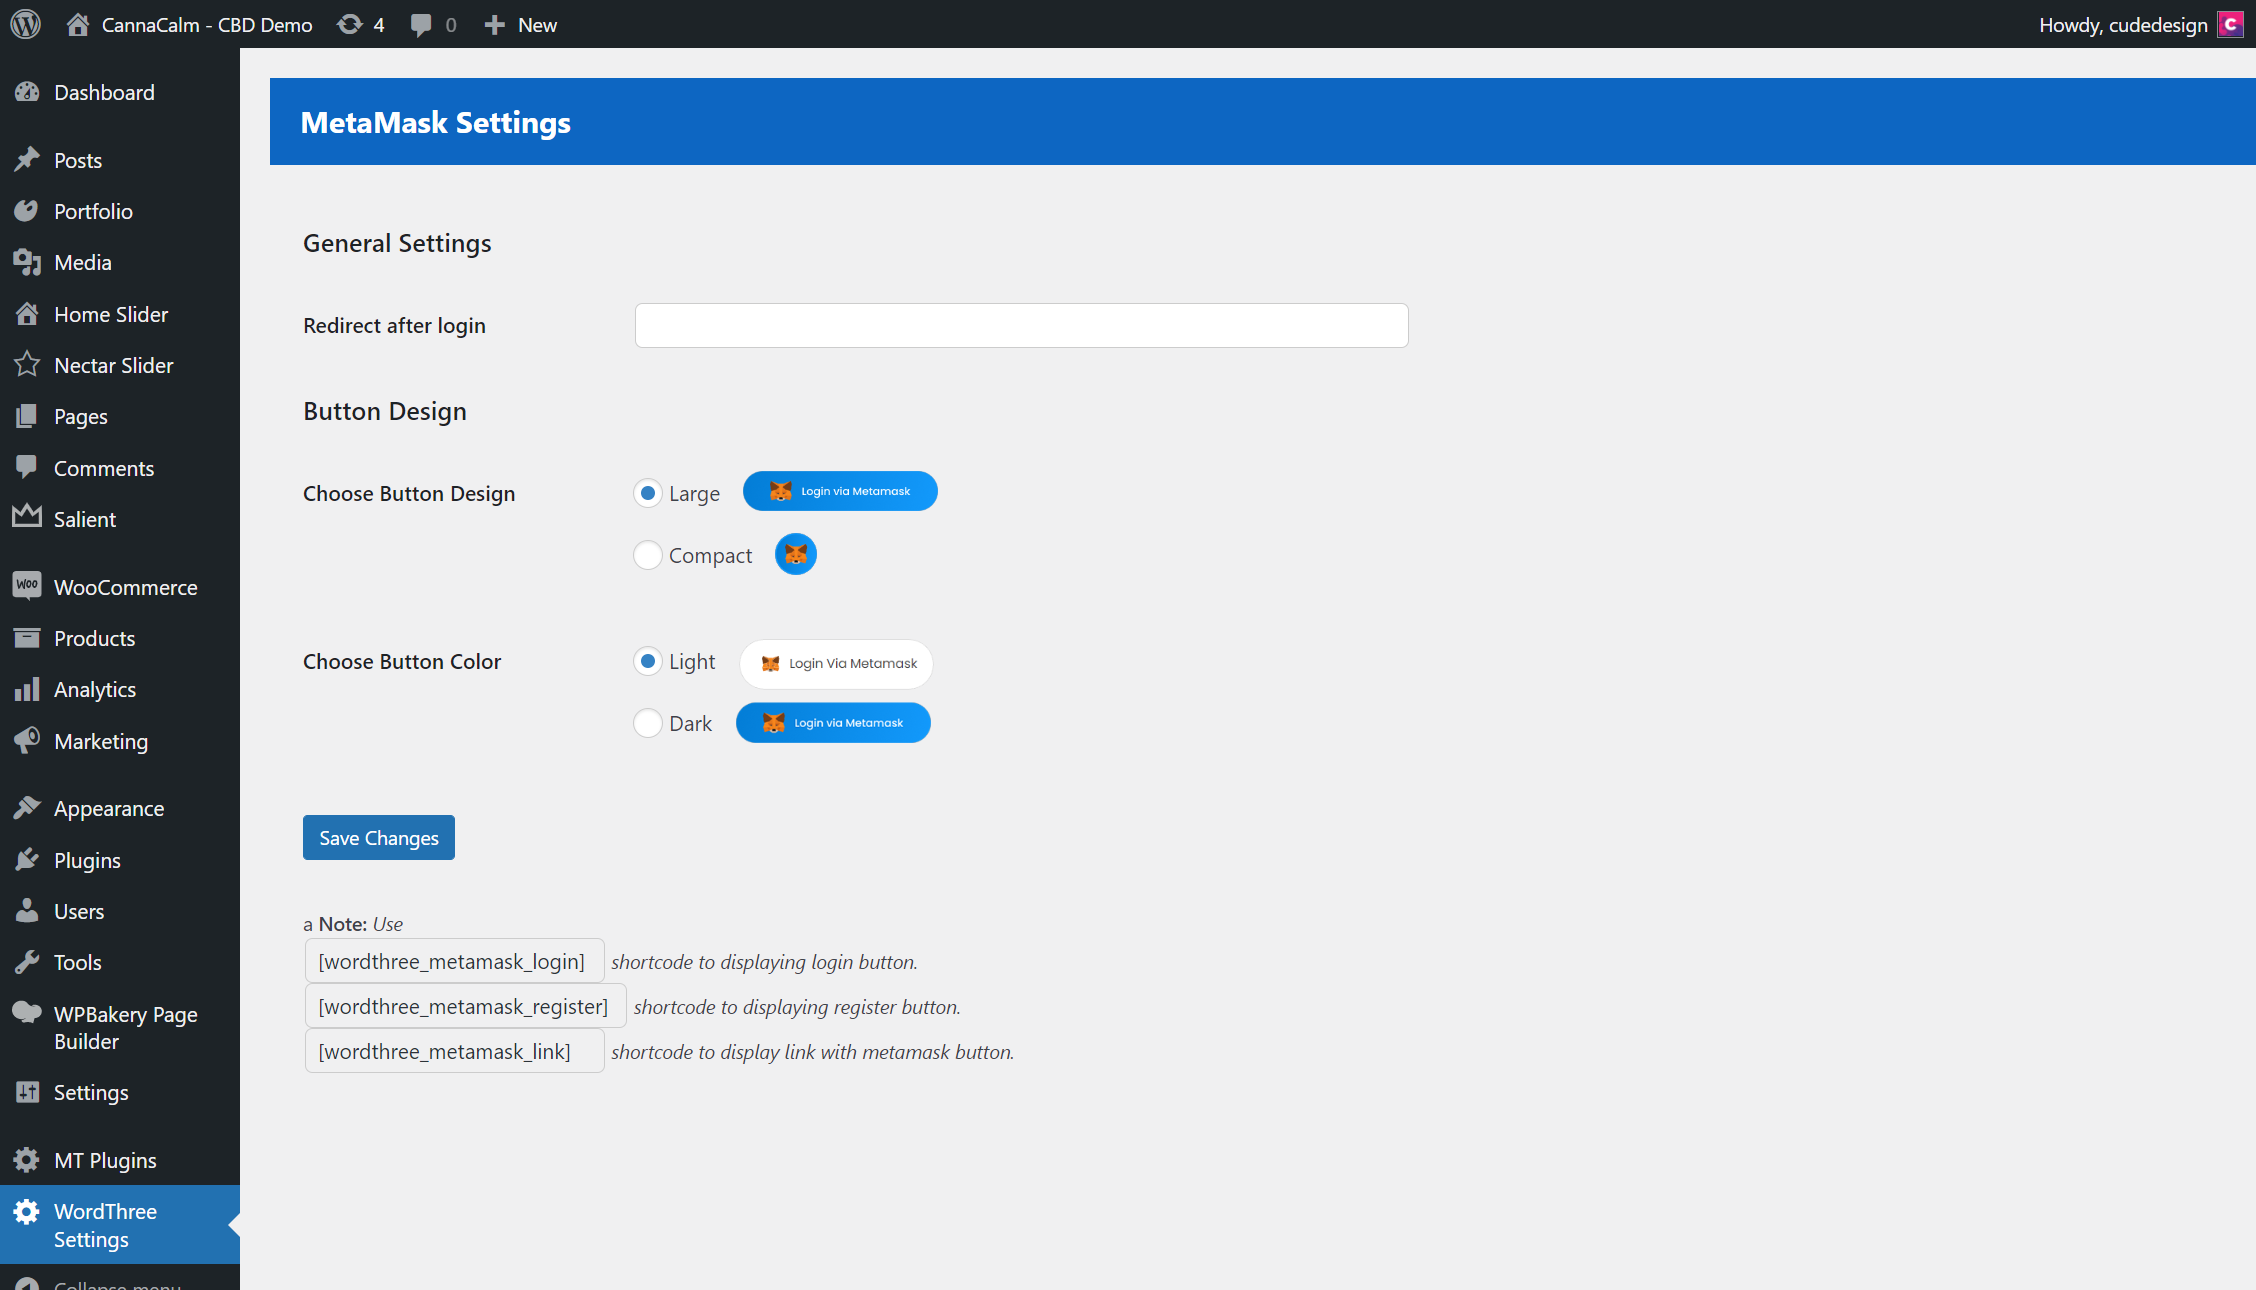
Once the plugin has been successfully installed and activated, you will see a new item in the menu of the WordPress Dashboard named ‘WordThree Settings’.
When using these settings, you can choose between two styles and two combinations concerning how the MetaMask button will be presented when using the shortcode.
Once you have changed the chosen style, ensure you press the save button. You can then copy the shortcode and place this anywhere on your website. A MetaMask button will be visible on the default login page of WordPress.
If you have WooCommerce installed, a MetaMask button will appear on the ‘Account’ page of WooCommerce, allowing users to log in or register to your eCommerce store.
When users register via MetaMask, their user details will appear in ‘Users’ of the WordPress Dashboard, including their wallet address.
MetaMask Payment Gateway
Setting Up WooCommerce
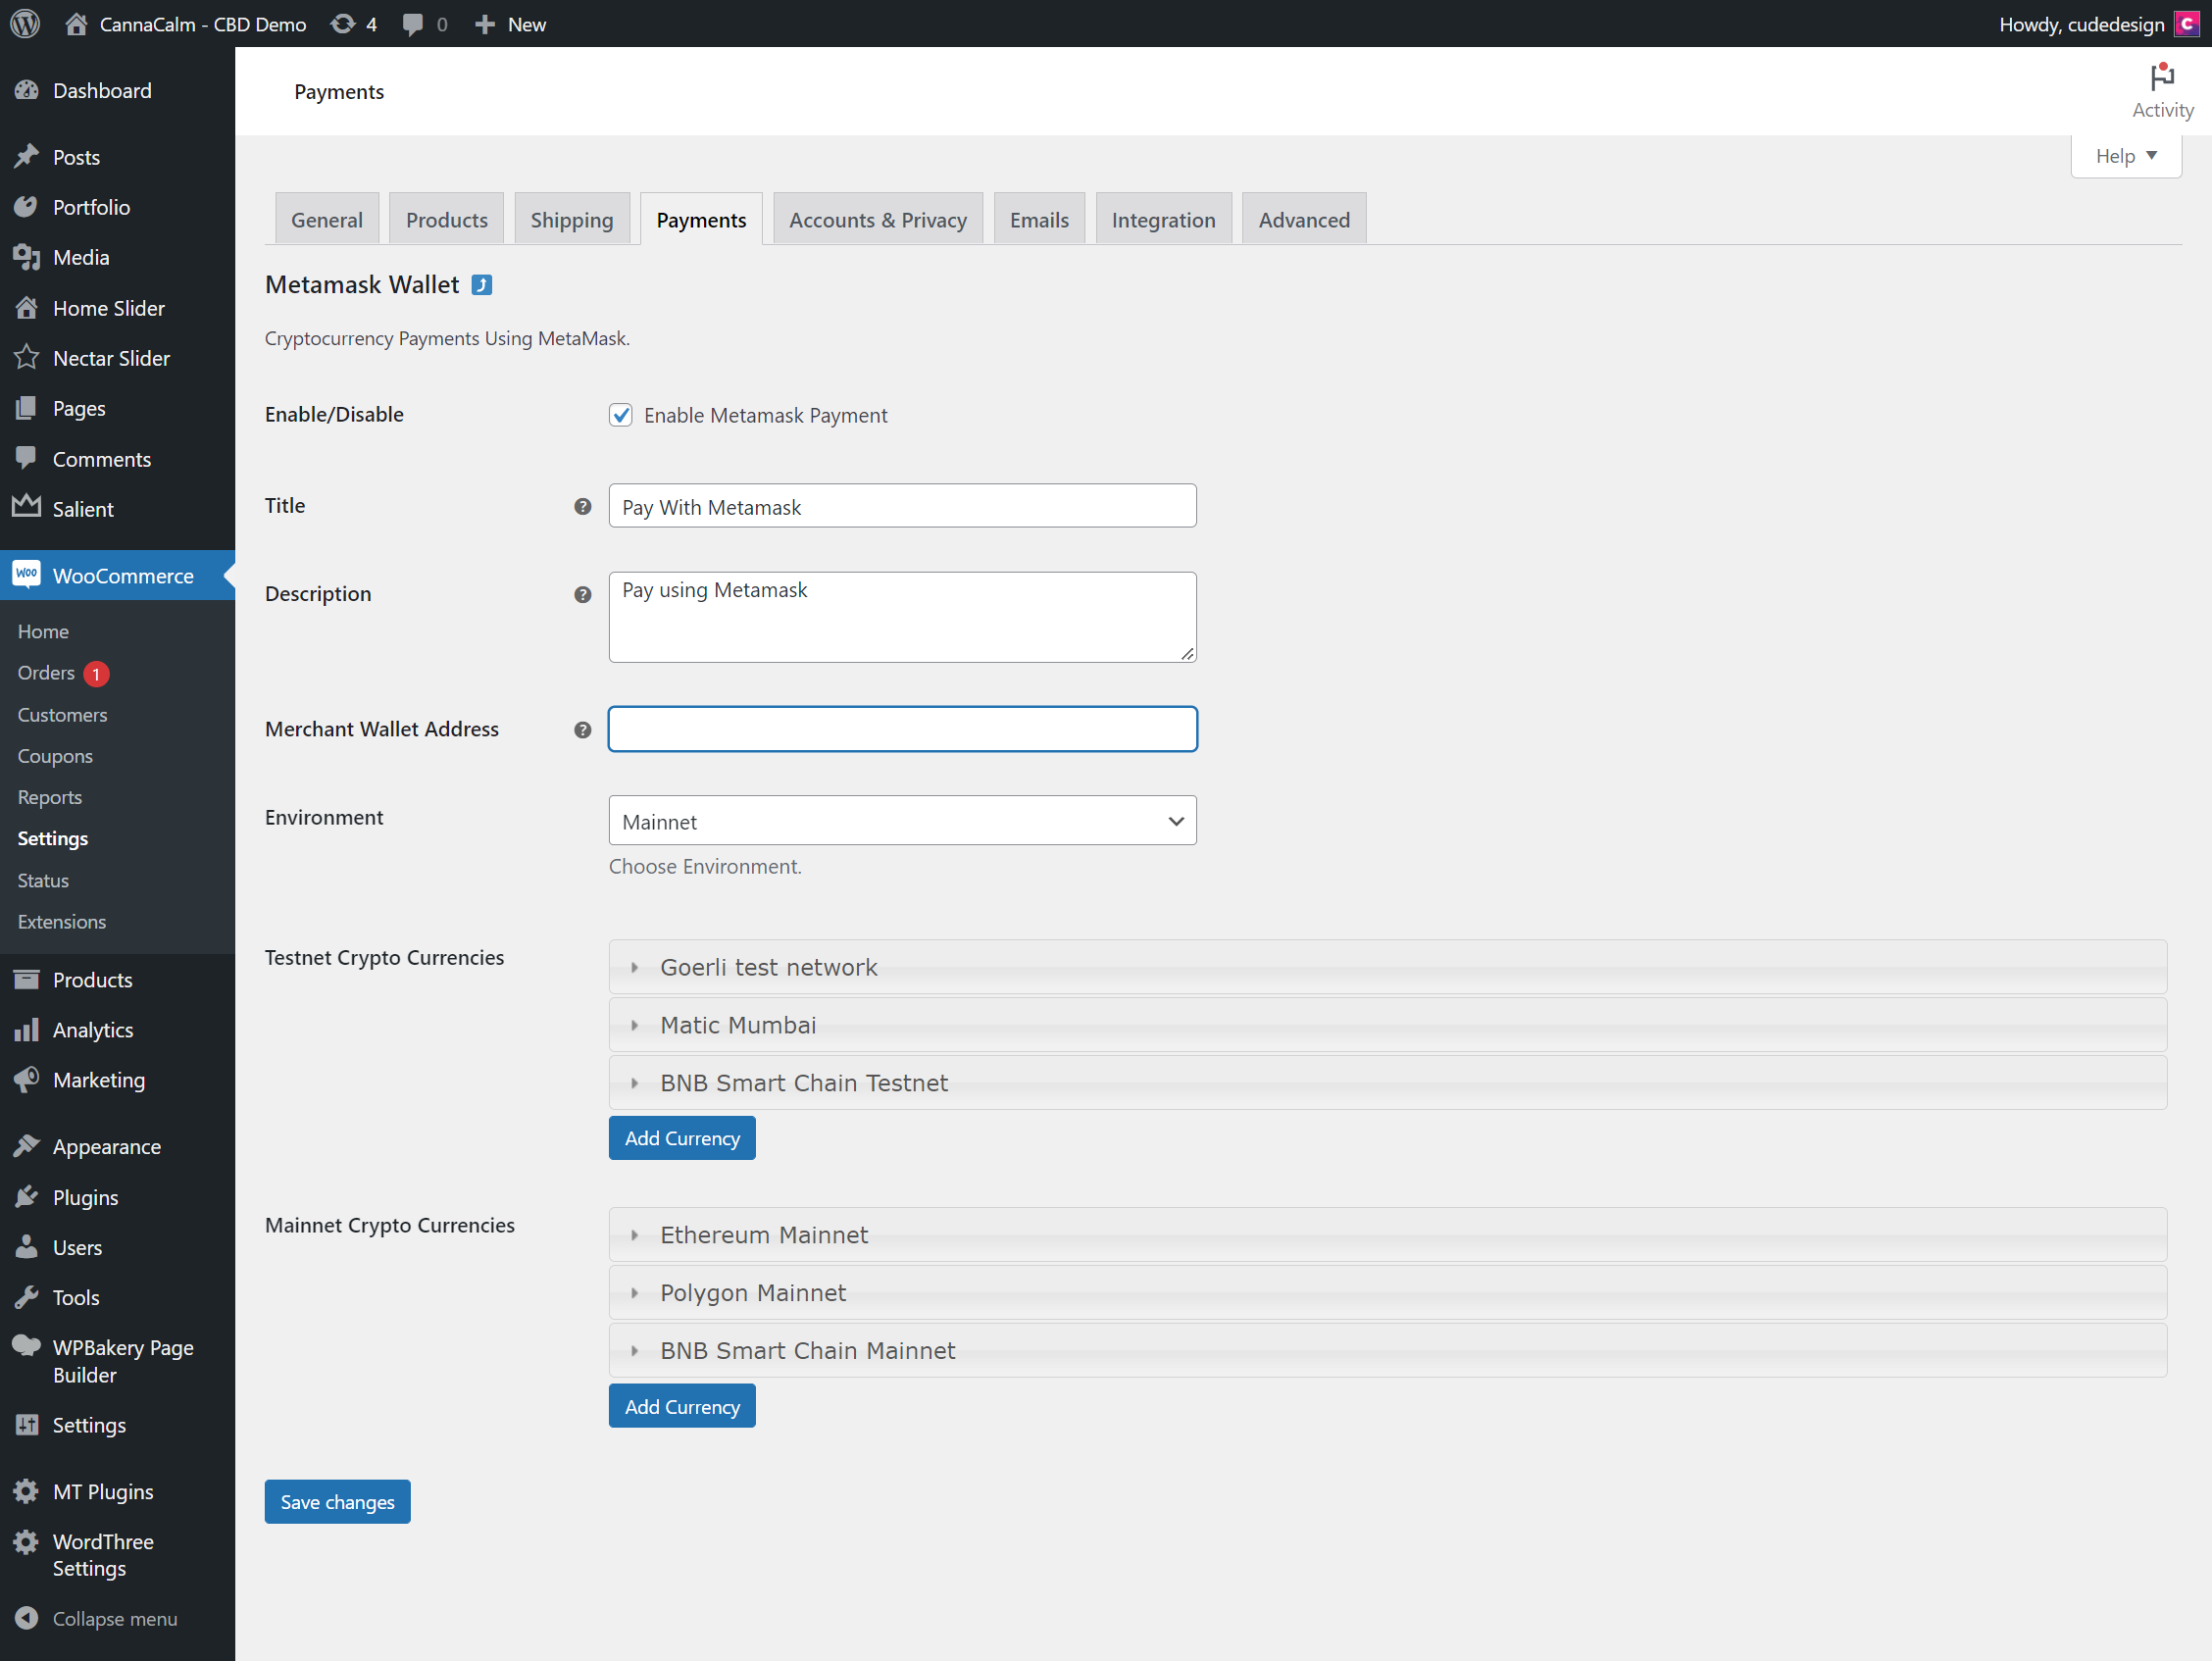
- To accept payments via MetaMask, you must navigate to WooCommerce > Settings > Payments.
- Choose to manage ‘Metamask Wallet’.
- To enable MetaMask, ensure the checkbox ‘Enable Metamask Payment’ is checked.
- Add your Ethereum wallet address to receive funds.
- Choose whether to use the test environment or live.
- If you wish not to accept Polygon or Binance as a payment option, open the related tab and mark the box to disable.
- Choose whether the user should pay via the checkout page or upon redirection to the thank you page of WooCommerce.
Having added your wallet address and activated the payment gateway, users will now see this as an option to make payment from the checkout page of WooCommerce.
Editing Or Adding A Cryptocurrency
It is possible to add ERC-20 compatible chains supported by MetaMask. Custom ERC-20 tokens are currently not supported by the WordThree plugin.
You must consult that specific blockchain website for the relevant information to add a new blockchain.
Shortcodes
MetaMask Login
MetaMask Register
MetaMask Link
Support
Free Plugin
For support related to the free version of WordThree, please click here.
WordThree Pro
If you have purchased a license for WordPress Pro, please click here to contact us.